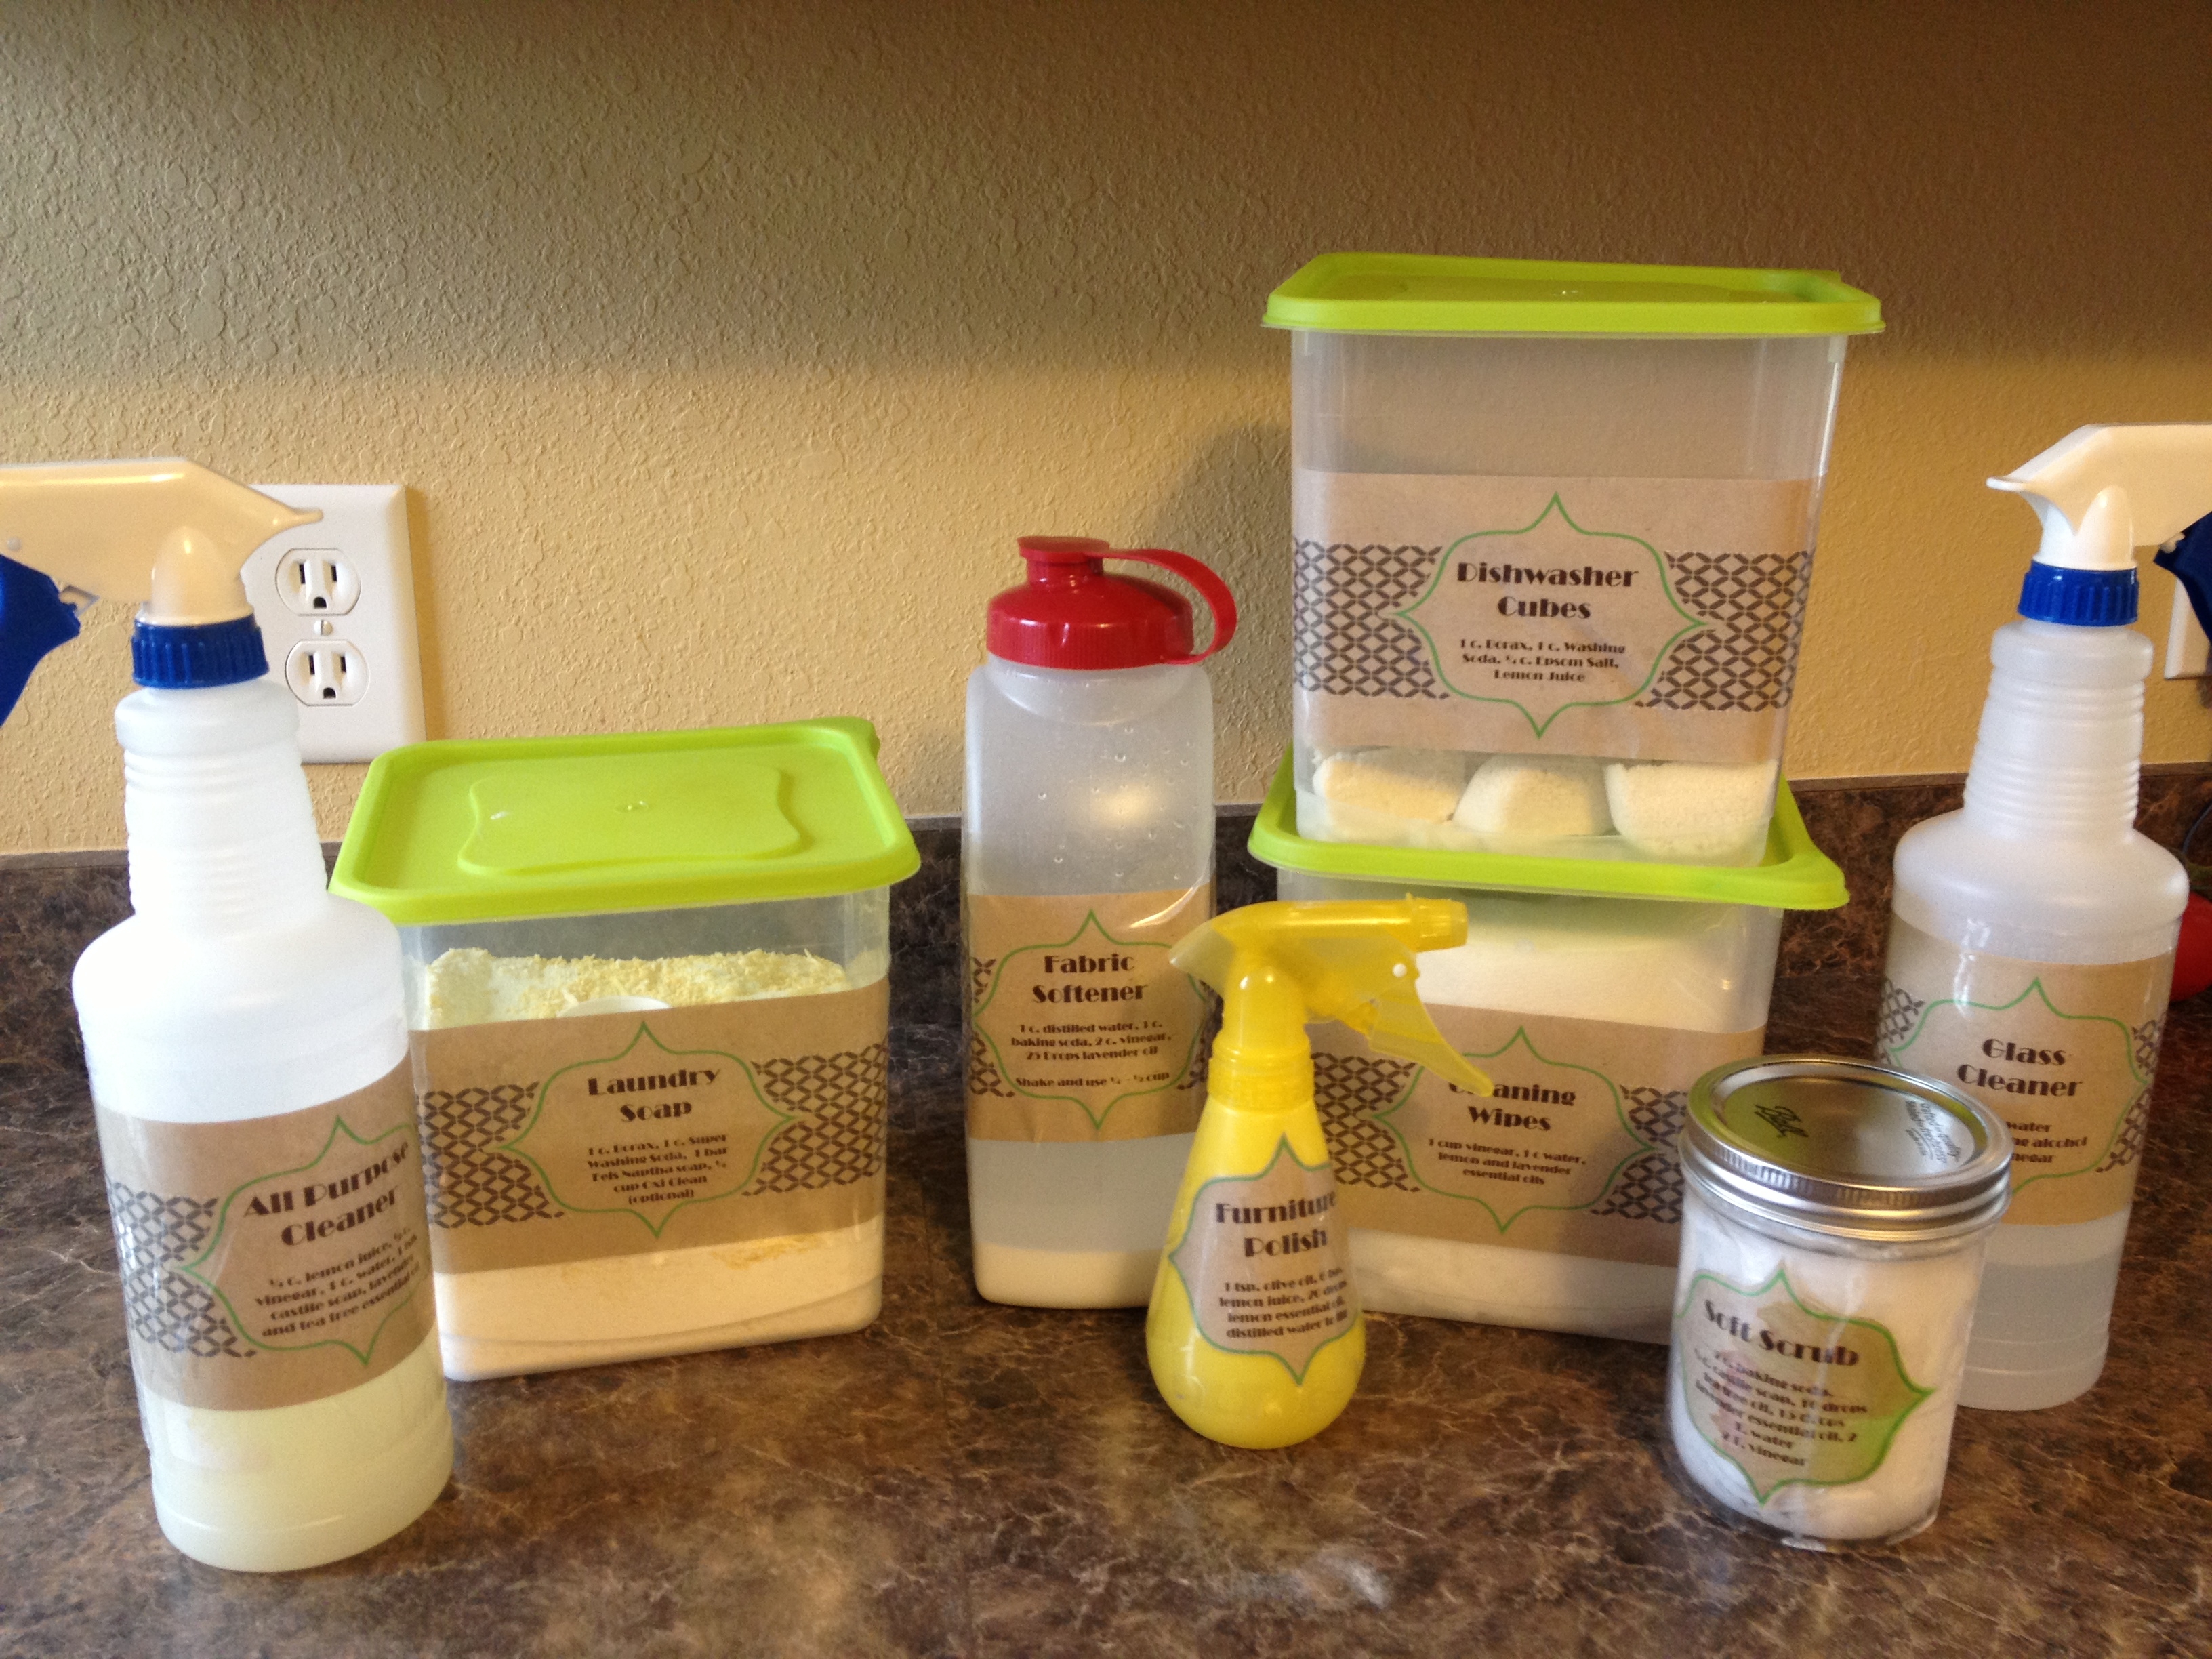
Cleaning Wipes
I saved the best for last. I think this is my very favorite product. At our house, my husband and I are pretty picky about a clean kitchen. We are both CONSTANTLY cleaning the counters. I also hate a dirty bathroom counter and sink. As a result, we used a lot of antibacterial wipes to do spot cleaning. There is not a lot wrong with this in the bathroom (other than the expense) but I never felt great about using them in the kitchen because of the chemicals in them. This product is a GLORIOUS alternative. I absolutely love them. They smell heavenly, are a fraction of the cost of antibacterial wipes and I feel very good about using them on the surfaces that might come in contact with food.
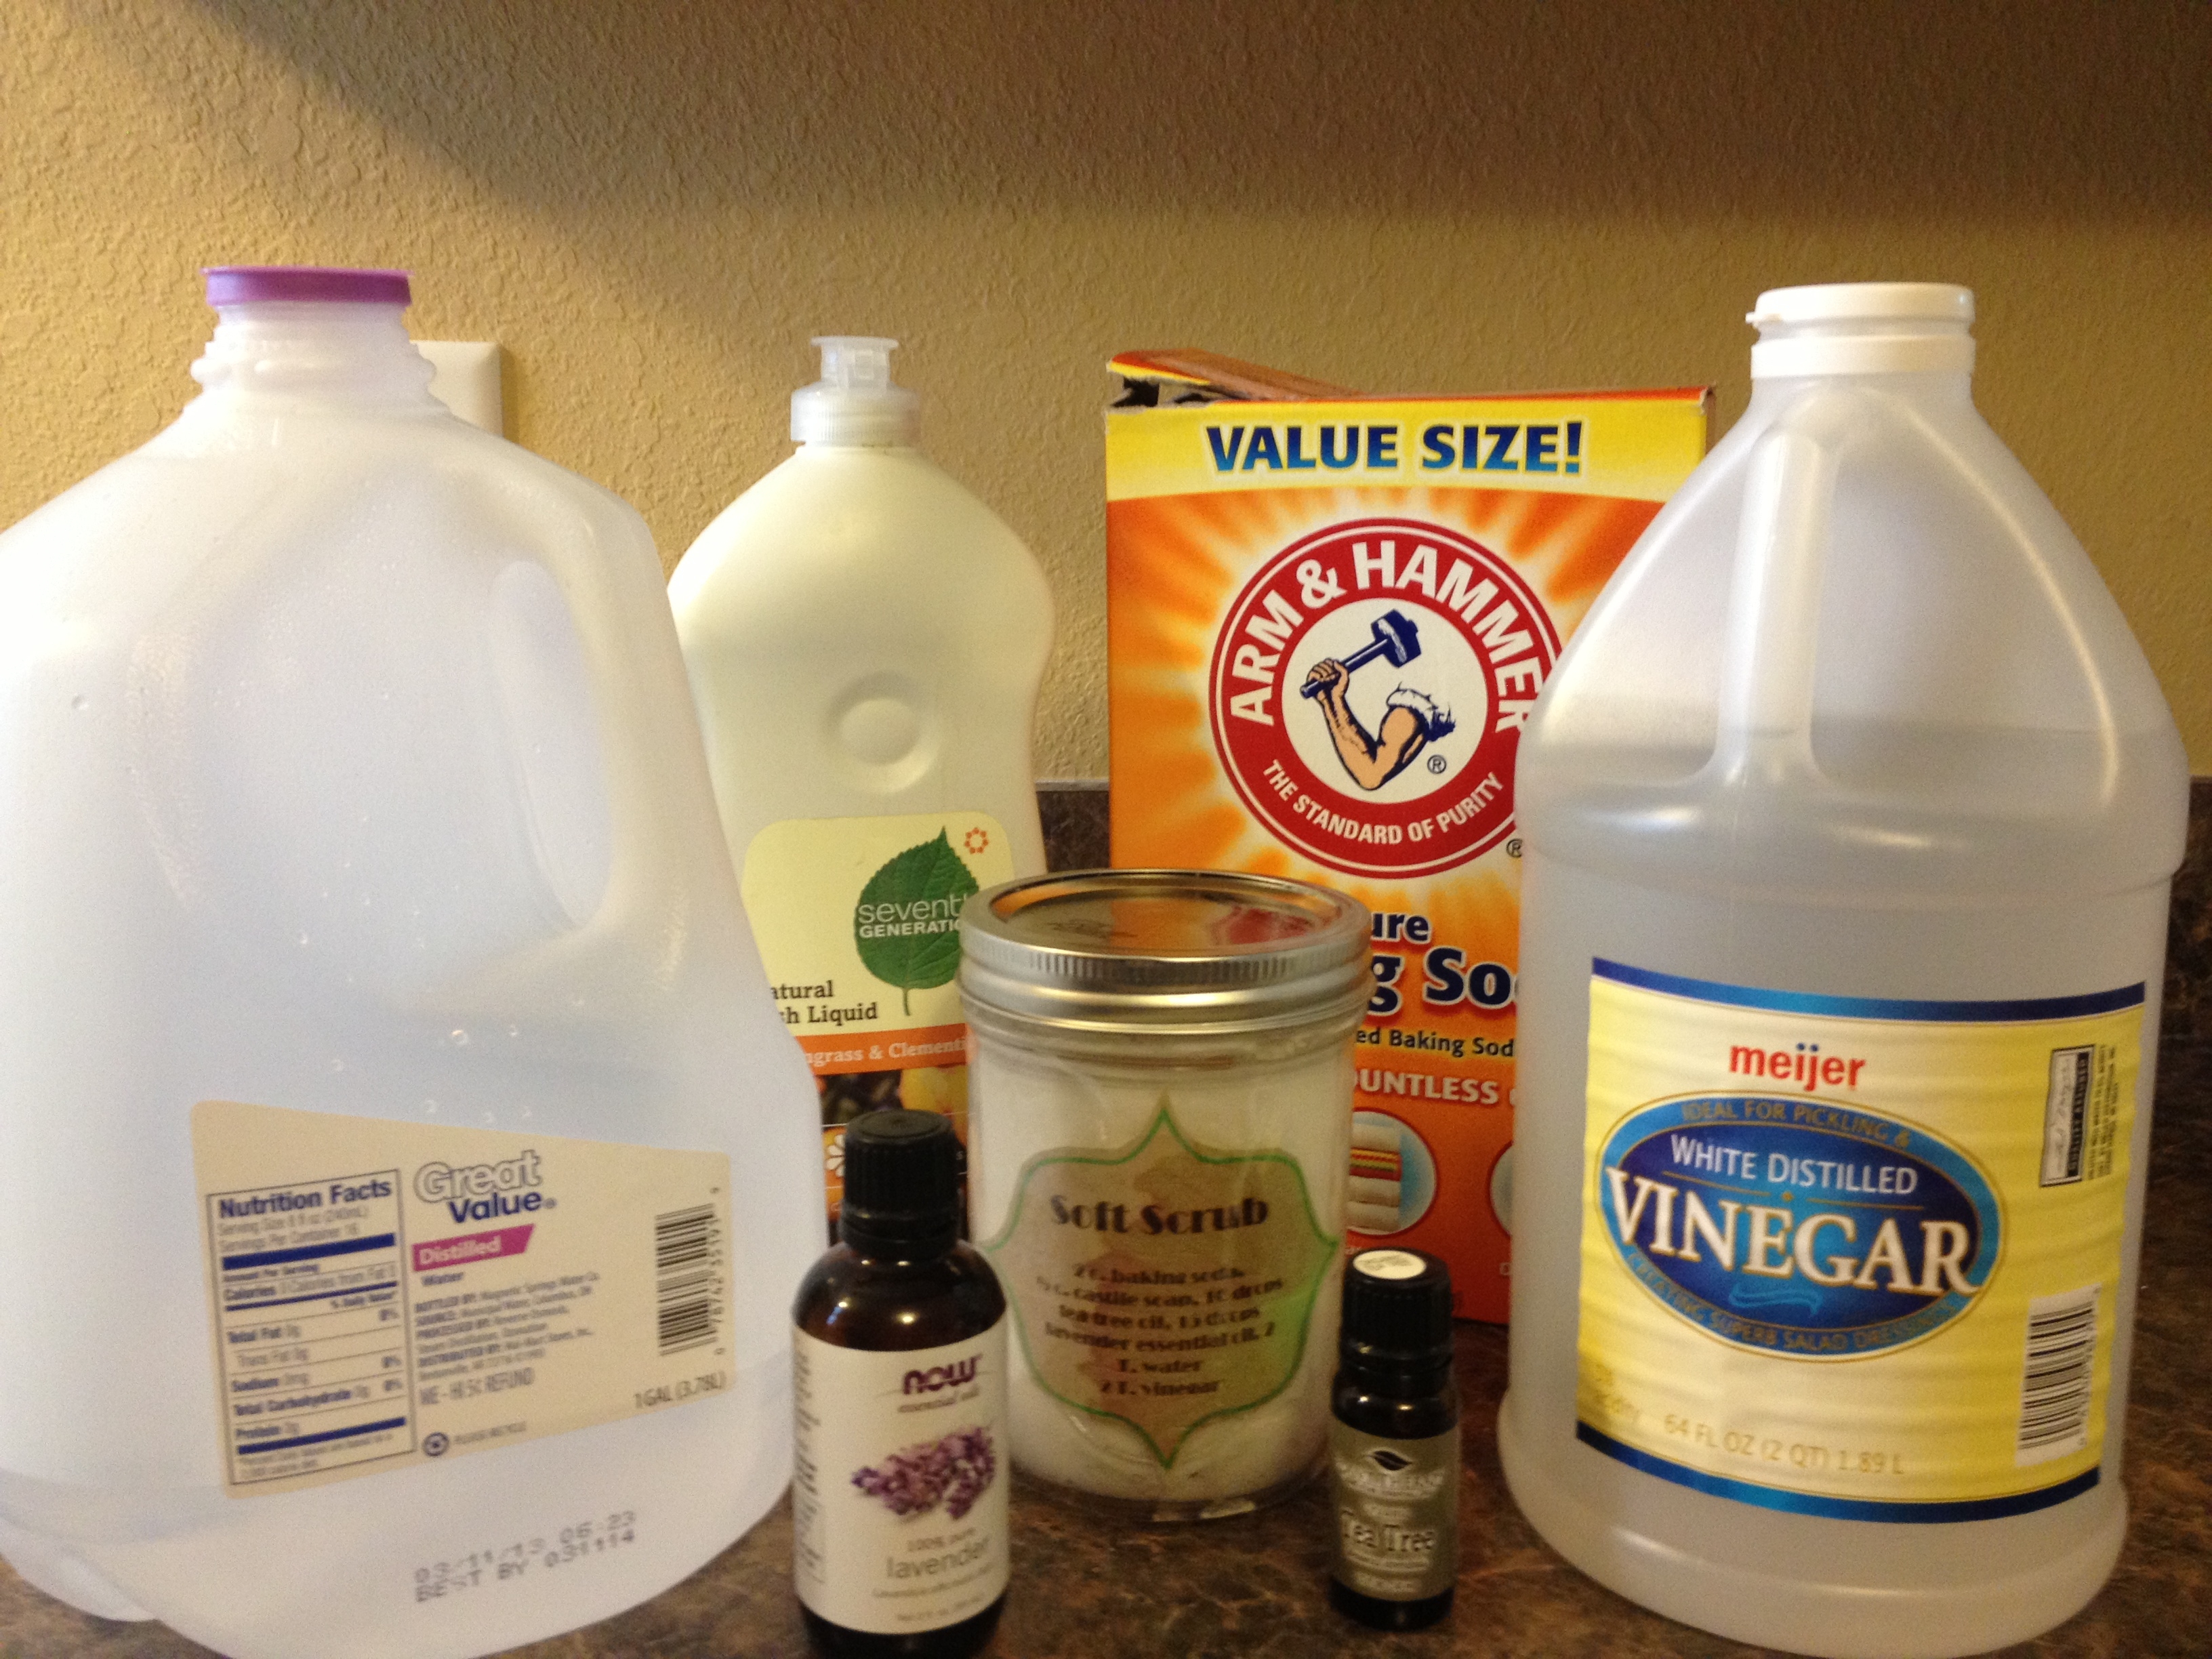
1 cup distilled water
1 cup vinegar
lavender essential oil (I use about 25 drops)
squirt of castile or dishwashing soap (optional)
Roll of paper towels, cut in half

First you will need the right sized containers for this. You will need something that is big enough around to handle the diameter of a paper towel roll. It will need to be at least half the height of a paper towel roll. I found a two pack of plastic containers at Walmart for $2.88. Since I wanted to make one set for the kitchen and one set for the bathroom, this was perfect.
The first thing you do is cut a roll of paper towels in half and take out the cardboard core. At first, I tried to use a serated bread knife which just mangled my paper towels. I ended up using a sharp Chef’s knife that cut right through everything. The cardboard core comes out easier than you might thing. If you can find an edge to un-peel it, that helps get it out. Otherwise just work it out slowly without pulling the center of the towels out. I use Kirkland brand paper towels from Costo. They are a pretty durable paper towel and I think this is important because they have to hold up to the moisture of the solution. If you aren’t a bulk shopper, just pick a sturdy towel. Since you are already using just half a sheet for each one (since you are cutting the roll in half), I don’t recommend the “select-a-size” type towels.
Mix all the liquid in the bottom of the container you will store them in. Take the half roll of paper towels (already de-cored) and put it into the liquid. It will quickly soak up the liquid in the bottom of the container. Put on the lid and turn the entire container upside down. In a couple of minutes, the entire roll will be saturated. Just pull the “wipes” out from the center.